Saturday, March 23, 2013

Good News, Everyone!

Today, on the blogging menu, we have lots of random tidbits. Each one is followed with an exclamation point as there is definitely some exciting-ness going on.

1.  On Tuesday, we hit 10,000 page views!
When I first started this blog, I wondered if I would even hit 100.  There was no particular number goal, as this blog just serves as an outlet for me to talk solely about wedding-related things, but it's cool to see that my posts are being read and hopefully helping someone out in Webland.


2.  Yesterday was the 3-month mark until the wedding!  It's crazy to think that June is only 3 months away, but I better get used to it!

Since this week is Spring Break for me, I went to the District Court's office on Monday and applied for our wedding license.   I don't know if it's the same in other states, but I went back on Friday to pick it up after our 3-day waiting period.
This was something that really let sink in the fact that the wedding is only getting closer and closer.  The clerk in the office started telling me what to do in regards to name-changing, which I AM doing, and I started to understand how big of a task that is going to be post-wedding.  I googled it when I got home, and holy cow, my name is on a lot of stuff.  That should be a no-brainer, but it starts to add up:  social security, work, insurance, driver's license, utility bills, bank accounts and credit cards, email, passport, voter registration, doctors, my teaching license, car/home registration, etc.  Thank goodness I have the summer off!  I'll also be curious to see how my students deal with it when we get back to school.  I mean, I do teach high schoolers so they are perfectly capable of calling me something new, but some of these kids I've taught for 1-3 years so it might be an interesting adjustment for them.


3.  I managed to complete our aisle runner!
(The C is blue, but the picture makes in kind of hard to tell)

I started this project last summer, but my cat decided to cuddle with it and subsequently tore it all up.  I managed to salvage the part that I painted and decided that we would use it on the cake table: 

At that point, I was sick of painting and put all my supplies away (and the remainder of the aisle runner up high and out of kitty reach).  I decided to tackle the project again about a month ago when we had a slew of snow days.  Adam and I went over to the church and measured the length of the aisle to make sure that we had enough fabric left, decided where we wanted the logo to be positioned (it's going to be up by where we stand), and then cut it to size.  This time I was extra careful:  locking the cat away in the other room if I was going to leave the house for a little, making sure it had enough time to dry so that I could put it in the spare room overnight, and keeping a keen eye on the cat anytime he was wandering around.

My efforts turned out to be well-founded and we now have another item checked off this to-do list. To store it, I covered the painted area with wax paper and rolled it back up together where it will safely wait for its debut high up in the closet.

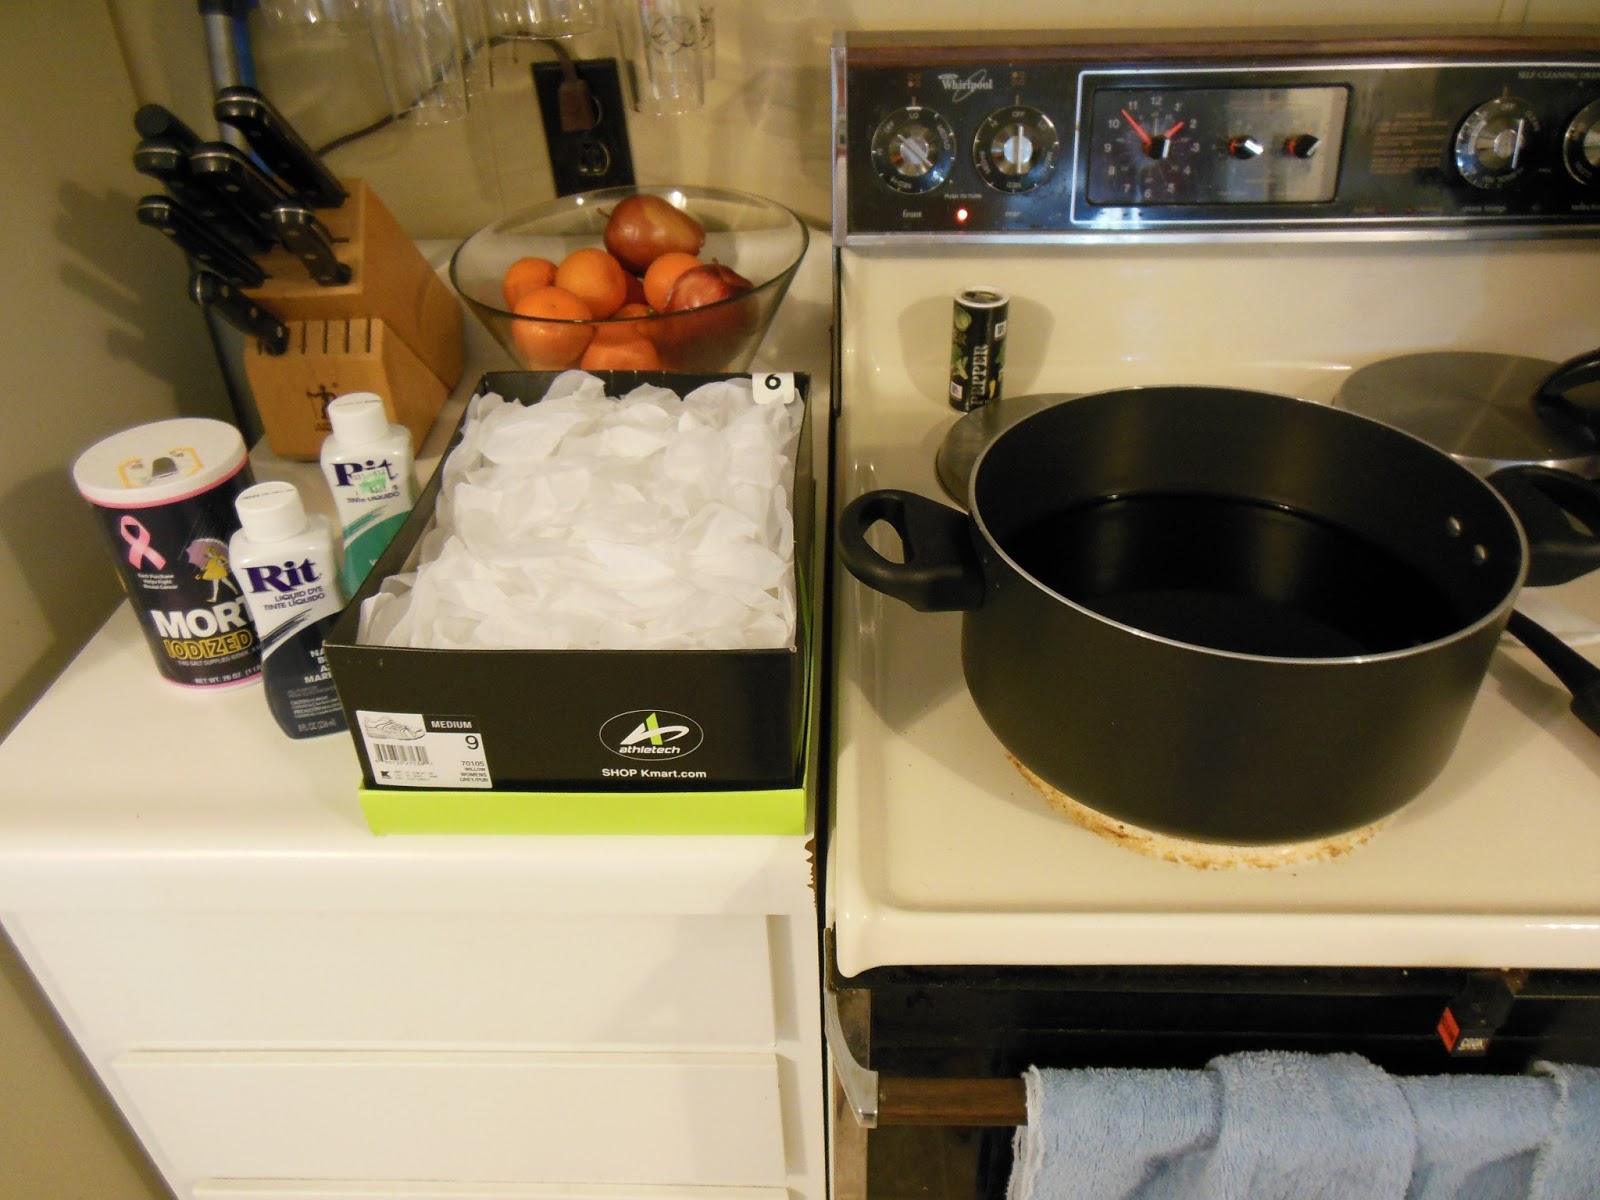
I'm not going to make a tutorial for this one since I basically did on the first post, but check there if you're wondering how it all went down (or at this blog which is where I originally got the idea and has a great tutorial).  Basically, print a template, trace it in pencil on the aisle runner, put down wax paper on your work area and paint using acrylic paint (and have a variety of paintbrushes).  And have patience.  I would work in one direction, let it dry and then come back and work on the other side of the outline of letter.

4.  I found this Pinterest user:  Labels @worldlabel.com!  I actually ran across their blog and they share tons of free label templates.  I have had the hardest time finding free vector images and templates like this so it will be a great asset.  They are basically a company that sells printable labels, but they share so much free stuff, it is awesome!

And I guess we'll call it a wrap for this blog post.  If I ever get these wedding invitations finalized then I  can share them!

Do you have any exclamation point-worthy tidbits to share?  Do it!

Monday, March 18, 2013

Playing Games

I was really planning on a 100-Day Post, but as you can see, I failed.

Whoops.

With that being said, the 96-Day Post is about...playing cards!

I have always loved the concept of games at the wedding reception.  I believe that it really portrays how the couple wants their guests to be entertained, whether they are waiting for the bridal party to arrive, or just enjoying the lull between main events. I think it demonstrates a little bit of extra thought, and hopefully, keeps guests entertained for a few more minutes.

While I really didn't want to take up the space to create a board games table, I thought it would be neat to incorporate the idea throughout the wedding.  On our programs, I plan on having some sort of game - a crossword or song guessing game (based on the string versions of some of our favorite songs).  For our dinner menus, I have designed a Sudoku puzzle and a word search on the backside. With those two elements, I thought playing cards would be another great addition.  Rather than create a set for each table, I decided that I would keep them stored at the bar so people could grab them if they come up for a drink and need something to do.  

While I could have just grabbed some decks of cards and threw them up on the bar, I decided that we really needed cute boxes with our names on them. Hence...


All in all, it was quite an easy project.  You just need some thick paper, scissors, sticky tape, a scoring board and some playing cards.


1.  Take an existing deck of cards, unfold it, and trace the deck as a template on the paper.

2.  Cut out the deck on the lines you drew

3. Score the lines based on where the folds of the deck box are.

4. Tape the main edges together and fold in the flaps

5. Insert cards and add any decorative elements

 I only made 10 sets, so hopefully that is enough! It was a little time-consuming, but I think they turned out acceptable enough to consider using my spare time to complete them.  I used extra paper left over from my invitations (post coming soon...really!) and then used the free seals that I bought from Vistaprint when we ordered our Save-the-Dates. I bought the cards at Dollar Tree and they came in packs of 2 for $1.  Needless to say, I spent about $5 on 10 decks of cards and potential entertainment for 10 groups of people. Hooray!

Sunday, March 10, 2013

I'd Dye For You

A little shout out to the great Bryan Adams.

I think we've found my first project that I'm actually giving up on.  We've had some bumps in the road thus far, but dyeing flower petals is the first official Failure with a capital F.

I found this tutorial from the Dollar Tree website awhile back.  I knew that I was going to want to dye them a dark color, so I was a little skeptical of how well it would work.  But after looking at the picture below (from their website), I figured that since the purple was pretty dark, I surely could do dark blue too.

The Process
1.  I bought 5 packs of flower petals from Dollar Tree ($5) and Rit Liquid Dye in both Navy Blue and Teal ($6ish).  Since our color isn't exactly Navy, I thought the teal might provide a little bit of green into the mix.  I thought about dyeing the petals teal first, letting them dry and then re-dyeing them navy, but I scratched that idea and just mixed the two colors together.  That could be the reason that this process failed, but in all honesty, I really think it is the type of fabric of the petals that inhibited the whole process. 

2.  I put 2 quarts of water in a pot, added 4oz of each color of dye and 1/4 cup of salt.  I heated the mixture on Low for 5 minutes before adding in the flower petals.  I bought WAY more flower petals than I could fit in the pot, so I just added enough that they were still fully immersed in the dye.

3.  And let simmer covered on low for 3-6 hours.  I stirred the petals about once per hour.  After 6 hours, the flower petals still weren't the right color, so I kept them on even longer.  I actually took some of the petals out, rinsed them and let them dry.  Hoping that they needed a second round of dye, I put them back in the dye (but it didn't make a difference).

4.  At bedtime, after the petals had been simmering about 9-10 hours, I decided to to call it quits.  I rinsed the petals and set them out on an old towel to dry.  I wasn't very happy with the color, but thought I'd sleep on it (and that they might magically change color overnight).  

5.  By morning, I had the same lavender-blue flower petals that resembled neither the navy blue or the teal dye that I had used.  I got out my peacock color swatch to compare the differences between our actual color and promptly decided that it was "unacceptable" (with a snobby British accent).  I didn't have much hope for trying to dye the petals a second time, so the project was officially crossed off the to-do list.

If you recall, I was going to use the flower petals to decorate around our centerpieces.  I had been playing around with either using the flower petals or paper punched hearts.  

So I guess we'll be using the hearts instead!  I'm actually okay with this because it means I get to pick out fun paper that matches our color scheme!  Here's a quick example using some of the paper samples I ordered in search for our invitation paper (post coming soon on that!)

So there it is.  My big Failure.  If anyone would like my lavender-blue flower petals, feel free to message me and I'll send them to you!  

Thankfully, I only wasted about $10.  What were your crafting/wedding failures?