Tuesday, February 26, 2013

The Candle-Making

I'd like to think that wedding planning had made me smarter and more knowledgable. I used science(!) to cut the glass bottles and then we were off to explore candle-making territory.  

I did some reading online and decided that I wanted to use soy wax.  They say it burns cleaner and is a slower burning wax than other types.  Ok.

Then I read about candle wicks.  I had no idea that there were different types of wick sizes and materials. I found the website, CandleScience, that had a Wick Guide.  It asked for the diameter of my glass and then it suggested what wicks to use.  I chose ECO-6 6" Pretabbed Wicks.  

The first thing that I needed to do upon commencing the candle-making, was to do a burn test.  Since these are going to be used for our reception, I wanted to make sure that it would stay lit for the entire 6ish hours.  You also want the wax to melt all the way to the edges after about two hours.  If it doesn't do that, then basically you need a different wick size.

The shortest glass size was the one that concerned me the most. I made two of those, lit them and took notes for the next six hours.  Thankfully, the candle burned well and was still lit 6 hours later.  I deemed the test run successful and set off to mass produce candles.


1.  I started off with my 56 pre-cut glasses:

2.  I took each wick tab and placed a glue dot on the bottom of it.  I then centered the wick tab in each of the glasses and pressed down hard.

3.  Now, you'll need something to steady the wick once you pour the wax in it.  You can buy wick holders, but I was too cheap for that.  I rubber banded markers together and sandwiched the wick in between them.  It wasn't perfect, but it did the job fairly well.

4.  Now it's time to heat the wax.  I used a Presto Electric Fryer and turned the temperature to 200 degrees (which is the lowest besides "warm").  I heated it just long enough for all of the wax chips to melt (about 175 degrees). 


5.  Once it was all melted, I poured the wax into a metal pitcher and kept my thermometer in the pitcher.  You want the wax to cool to 135-145 degrees before you pour it into the glasses.  It has something to do with the cooling/setting of the candles...sure.

6.  Once it's cool enough, pour!  I highly suggest laying down newspaper wherever you're working.  Soy wax cleans up super easy if it's wet, but it only gets more difficult the cooler it becomes.  It took about an hour for the wax to harden all the way to the top.  The glasses were still warm, so I let them cooler for several more hours before moving them around.

7.  And after you've poured 40 of these, ran out of wax and had to wait for 10 pounds more to be shipped, and made the last 16, you have centerpieces that look something like this:
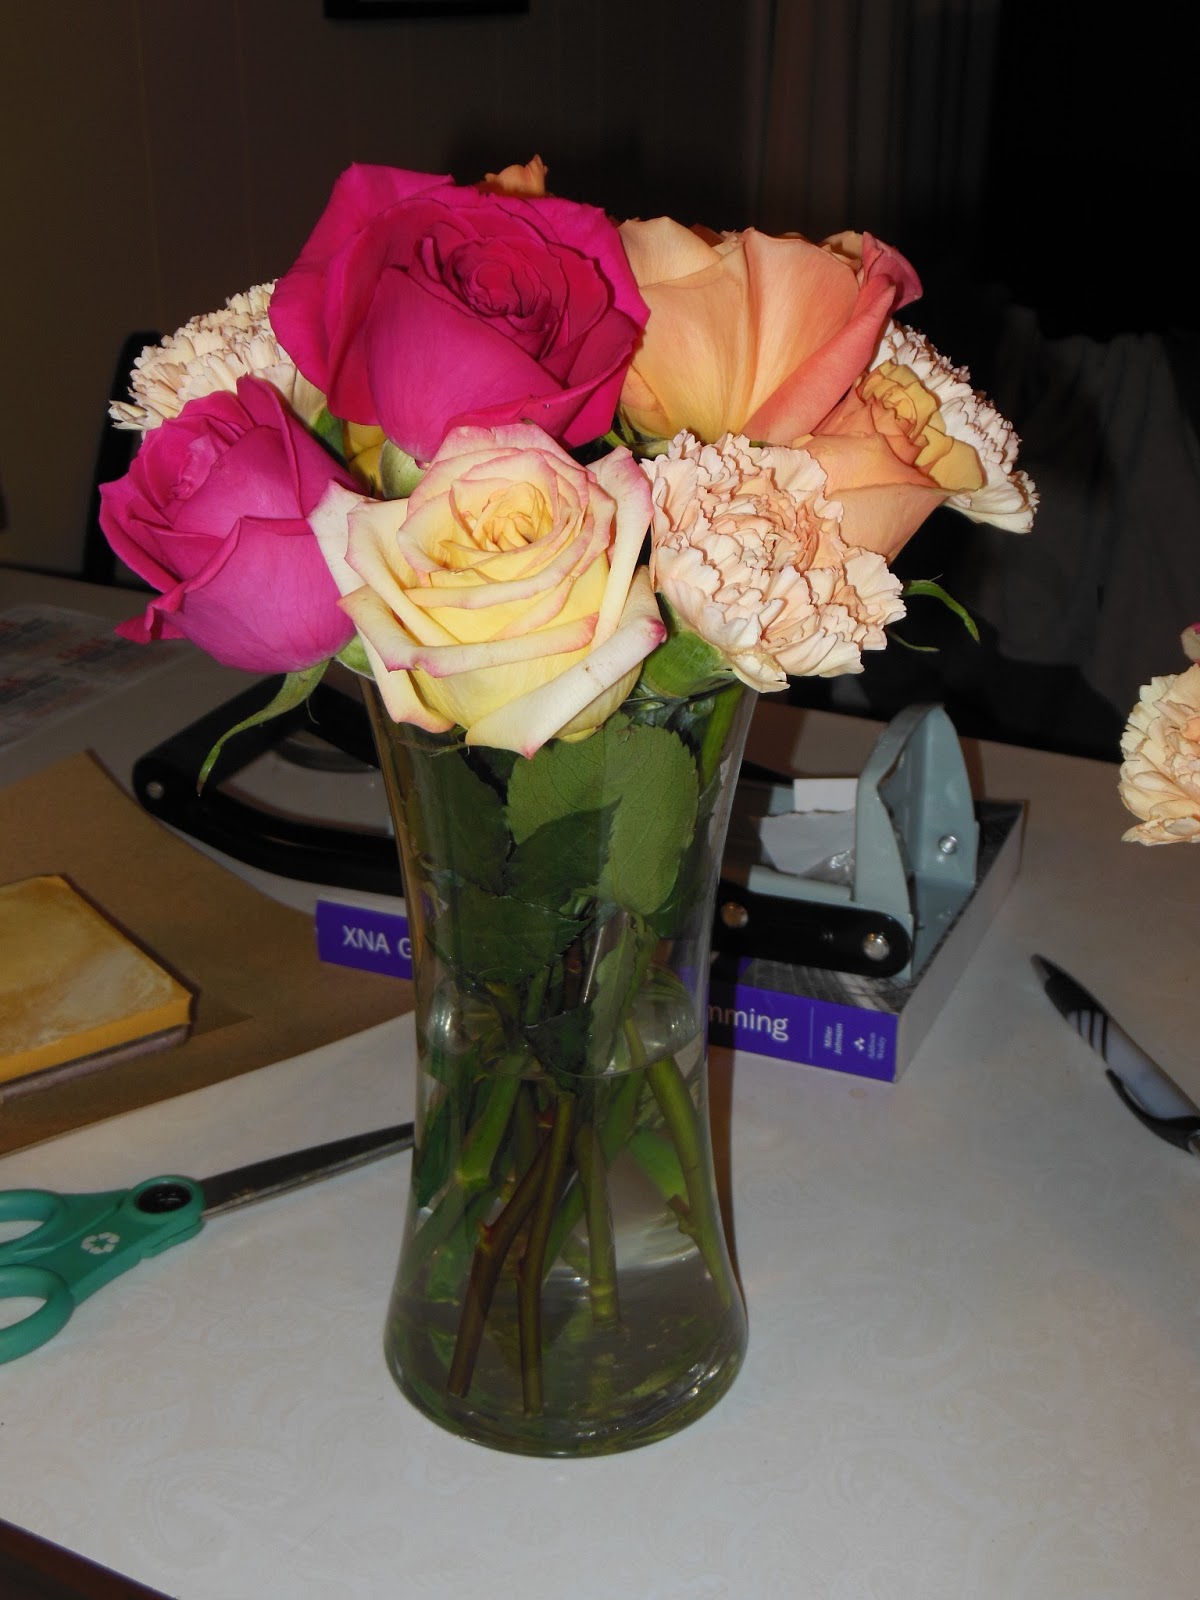
I haven't quite decided on the arrangement here yet.  They're both clearly very similar and this is quite a trivial thing to spend brain cells on, but these are my two winning options.


And now we're officially done with centerpieces!  Hooray!


Overall, this was a seemingly a never-ending task that took the span of several weeks. I would heat eight cups of wax up at a time which would make about one complete centerpiece with seven candles.  Waiting on the wax to be cool enough was the big time consumer.  Also, some of my candles turned out with some problems which meant that I had to get the heat gun out and melt the entire top of the candle so that it could re-set smooth. 

I'm glad that I embarked on this candle-making, glass-cutting journey, but I must say that I'm even happier to be done with it.  Now I can focus on getting those durn invitations started on! 

Saturday, February 23, 2013

Glass Cutting: The Tutorial

We left off last time going through my trials and errors in the field of glass cutting.  Here is my official tutorial for what worked best for me.  I know a lot of people have had success with the other methods, but apparently not this girl.

Materials:
Glass bottles - I used clear bottles, but any type (beer, wine, salsa, etc) will do
Generation Green Bottle Cutter (don't forget your 40% coupon!)
Sandpaper (150 grit was the coarsest I would use)
String (for template)
Electric Hot Pot
WD-40

1.  I let the glass bottles soak in hot, soapy water for about 10 minutes to clean off the labels/glue.  I had Newcastle, Mike's Hard Lemonade and Jack Daniel's Cocktail bottles.  Newcastle labels came off super easy.  Mike's required quite a little bit of scrubbing.

2.  Since I was going for a staggered look, the first thing I needed to do before cutting was to make a template to determine the height of the different cuts.  I had previously played with the bottle arrangement and decided that I was going to use 7 glasses per centerpiece.  I took some string and tied seven pieces on the template, arranging and spacing them as desired.

3.  I got out the glass cutter and lined up the scorer part(that green handle towards the bottom) up with the string on my template.  You'll see that green piece goes in the bottle neck and stays pretty snug to help keep your score line steady.

4.  Apply pressure to the top green piece and the lower handle and rotate the bottle 360 degrees to get a complete score line.
See the snow in the background? 7 inches and counting (that's a lot for KS)!

5.  Now that you have a score line, heat up your hot pot until you have boiling water.  You are first going to pour the boiling water over the entire score line, rotating the bottle as necessary.  Have cold water running from the faucet at the same time.  After you have poured boiling water on the score for about 10-15 seconds, do the same under the cold water.  The change in temperature, the thermal shock, will cause the bottle to break at that score line.  You will see it almost immediately once cold water hits it.  If if doesn't break entirely, alternate by pouring more hot water and then cold water on the line.  Here is a quick, un-edited video if you want to see it in action:

6.  And there you have two pieces with a pretty decent cut!  You will want to sand the edges of the pieces you are going to use.  I got the sand paper a little wet (to avoid dust/glass shards) and sanded parallel to the cut and then on the inside and outside edges too.  It helped to give it a more rounded, finished look and eliminated some of the tiny imperfections.   It also will prevent someone from taking a trip to the hospital to get stitches!  

7.  And repeat.  55+ times.    After about every three cuts, I would apply a tiny dab of WD-40 to the scoring wheel.  It was recommended in the instructions and seemed to help maintain the scorer.  The bottle cutter comes with several (like 5-6) wheels, but I used the same one for all the glasses.


Overall, it wasn't a flawless method, but things turned out dramatically better than any of the other methods that I had tried.  I still had many bottles that didn't turn out as perfectly as I would have liked, so each time I would scrap it and have to try again.  If you do have larger imperfections, you might be able to sand them out, but you will definitely be sanding for awhile!  Since I had 50 bottles to sand, I had high standards, hence the giant box of glass that will be going to the recycling:

As for glass cutting, that's all!  Next time, in the continuing saga of DIY Candle Centerpieces, I'll share my candle making experiences...joy!

Has anyone out there tried glass cutting?  Are you thinking about it now?  I am going to be making so many Christmas presents next year this way.  Think about all the cool bottles out there:  vases and candles galore!

Thursday, February 21, 2013

Glass Cutting: A Tale of Errors

I started collecting clear glass bottles about a year ago.  I had come across some pictures that looked like this and thought they would make great wedding centerpieces:
Sources:  Weddingbee / The Knot

What I really liked was the staggered look and the bunching of the candles.  While glassware and candles seem pretty inexpensive on their own, I was worried about the cost of having to buy/find the different sizes in mass, especially with the taller vases/pillars.   I also knew that I didn't want to use floating candles, which is a great, less expensive option for the style here. AND...I really wanted the height of the candles to match the glasses.  Thus, my brilliant side came out, and I decided, "hey, I can do this stuff myself.  I just need some glass and some wax and BAM! We'll have ourselves some candle centerpieces."

Attempt #1:
I had seen on Pinterest a post about cutting glass using fingernail polish remover and string.  I also found some videos that made it seem easy enough:

Well, I was a big failure.  For about the first 10 times, I couldn't even get the class to cut.  I played around with the types of string, the number of times I wrapped it around the bottle, how long I waited until dunking it into the water...nothing worked.  Finally, something changed and I did get the bottle to break, but every time it did it actually made two cuts:  one above the string and one below the string...weird.  If I did happen to get lucky and only get one cut, then it was all jagged and crazy-like.  Plus, the smell of the burning acetone was awful, not recommended.

Attempt #2:
While I was seemingly frustrated that my plan had failed, I still had two rubbermate totes filled with glass bottles and a determination that wasn't yet waning.  I did some searchin' on the interweb and found this post on weddingbee, My DIY Wine Bottle Centerpieces, where she cut the bottoms off of wine bottles to make centerpieces that looked like this:


The girl that posted it had used a glass scoring tool sandwiched between phone books.  
She had her finance hold the scorer steady and she would rotate the bottles to make a score line on the bottles.  Then they would pour hot water on the line and then run it under cold water to get the "thermal shock" and break the glass along that line. Ok, I got this.

I tried doing it by myself, pressing down the phone book/scorer sandwich with one shoulder and rotating the glass bottle with the other arm.  We had a score line!  I tried the hot/cold water combination and it worked!  

As I continued to score the bottles, my score lines got worse and worse as my arms started to get tired.  The lines on the bottles weren't matching up and the bottles were cracking in all the wrong places.  I had about 4 out of 10 that I thought could use for the wedding.  I figured that I could press on, but after about 5 wasted bottles, I gave up for the day.  My shoulders were so sore the next day that I skipped another day of progress.  

On the third day, I came back to my supplies ready to rock and roll.  My first few attempts were pretty poor and my arms got only more tired from there.  I started to worry as I only had about 5 votives and I was going to need around 60!  And I had wasted about 20 bottles in the process.  My odds weren't doing too good.  

Thus, I needed a new plan.

Attempt #3:
I did some more searching and came across this YouTube video.  It's a long one!

While the process was essentially the same, the "host" of the video used a glass cutting contraption to help steady the bottle. 

I, however, thought that spending $50 on the device was counterproductive to my "saving money by recycling" point of view.  It did get me thinking if there were other similar products out there, and there was!  Hobby Lobby had one for $25 (but with your 40% off coupon, it makes it only $15).  I felt okay paying $15, and I'll tell you...SO WORTH IT (and a little dance to go with it).

So fast forward about 2 weeks and we have this:

I think this post has been long and boring enough, so I'll continue next time with a step-by-step of my third and final glass cutting attempt/success.  If anything, hopefully I saved someone out there the time and energy that I spent "trial and erring."

Tuesday, February 19, 2013

Not So Matchy-Matchy

When I asked my "ladies" to be my bridesmaids back in August, I wanted to let them know right away what I was thinking about when it came to picking out their dresses.  I had given some thought to what I wanted their dresses to look like:
  1. Short length - My dress isn't overly elegant and we are having a summer wedding, so it made sense to me to go with short dresses
  2. Peacock color - the infamous peacock that makes everyone ask me if we are using peacock feathers in our wedding...no.  It's also the color that doesn't show up correctly on the computer and changes from navy blue to teal in the blink of an eye.  I still love it, but I'm still sad that barely anything matches it unless you order it from David's Bridal directly.
  3. Fabric - no preference
  4. Style - no preference
So based on my impartiality of the style/material (and the fact that I figured we couldn't get all 4 of them together at once to decide), I went ahead and gave them the open choice on the style of the dresses.  As long as it was short and Peacock, I was perfectly content with that.  

The Bridesmaid Dress Journey:
Maid of Honor N, Bridesmaid H and I went to David's Bridal right before New Year's and it was a big failure.  They hadn't gotten their Spring dresses in, despite sending out their Spring catalogs a month earlier.  We tried again at the beginning of February and had much more luck.  Bridesmaid H picked out a chiffon halter dress (with room to expand for her preggo belly), while MOH N picked out a chiffon sweetheart neckline dress with cap sleeves.  

Bridesmaid L said that she would be going to her local DB that next week, so I sent her a quick email about what H and N had picked out, but told her that if she liked one of those to not hesitate to get it also.  She also picked the chiffon halter dress like Bridesmaid H.

By then, we had 3 chiffon dresses.  Bridesmaid V, since she was the last to get to DB, got an ultimatum and it was "I would really like you to find a chiffon dress."  I'm pretty tough when it comes to ultimatums.  Thus, we went last Sunday, and...she got a chiffon dress!    

So, the bridesmaids have dresses, and here they are:

I just randomly organized them, well with MOH N on the far right like she would be at the altar.  I haven't decided how to arrange them exactly, we might do height.  Since Bridesmaids H & L have dresses that are a bit longer, it might be something we just have to wait and see about and decide on what looks best.  Unfortunately though, that would be on the wedding day.  I also thought that it might look best with them two on the far left and then the two shorter dresses on the right.  What do YOU think?  Suggestions suggested!

MOH N actually is going to wear the sleeves like straps.  Clearly in this picture they were altered perfectly for this girl's shoulders, but I personally like them as straps anyway!  They are all going to wear black heels of some sort.

So there is my attempt at mismatched bridesmaids dresses.  I think it will turn out great, but I was kind of worried to begin with.  I promised Adam that it would look good, although I wasn't 100% sure at first!  I was concerned about having all different lengths and fabrics together and also about 3 people liking the same dress and having a random 4th (unless it was the MOH).  But as you can see, it all turned out okay! Hooray!

Sunday, February 10, 2013

Lindsy Plays Florist

I took Monday off from work and had some wedding-related errands that I wanted to run.  My main goal was to get some flowers and with them accomplish a couple of things:

  1. Practice making bouquets
  2. Decide on whether or not we would have flowers at the altar
  3. Practice assembling the floral centerpieces
Kistner's, the floral shop that we I chose to do our wedding bouts and corsages, always has $1 roses.  I grabbed a dozen of those and then 8 carnations @ $1.50 for a pre-tax total of $24.00.  They either come in red or assorted, so I picked assorted, and the carnations that just came in were either yellow or peach.  I went with peach.  

Now, our wedding flowers are going to be all white, but I didn't want to pay $3 a rose to get all white when all I was trying to do was some practice.  And honestly, I think $25 is the most I've ever spent on flowers.

Practice Making Bouquets:
I played around with the assortment of flowers to do the bridesmaids bouquets and came up with several numbers to help me decide how many flowers to order (sorry, no pictures...blogger fail):
  • small bouquet = 4 roses / 3 carnations
  • medium bouquet = 8 roses / 5 carnations
  • large bouquet = 12 roses / 6-7 carnations
  • extra large bouquet = 16 roses / 9 carnations
What surprised me the most was that I overestimated the number of carnations needed. I figured it would be equal, but the carnations seem to expand more.  ...And, based off my initial trial, making the bouquets seems like it will be fairly easy (yay!).  I started with 3 flowers in my hand and then just started adding flowers to the outside.  I'll have to maneuver floral tape when I actually do the bouquets, but doing a little practice has given me the confidence to know that it won't be a complete failure!

I plan to order enough flowers to do a large bouquet for each bridesmaid.  I might have to adjust the numbers depending on the flowers, but I plan on ordering some extras anyway.  As for my bouquet, I will have a couple of hydrangea blooms in there too, but I didn't feel like buying them.  I hear they are pretty delicate flowers when it comes to keeping them hydrated, but hopefully they are just as easy to manipulate!


Decide on Whether or Not to Have Flowers at the Altar
I then took the flowers and arranged them into two vases.  

My original vision for the altar was to have two flower arrangements on the sides and then our unity candle in the middle.  After talking to the first florist, she strongly recommended using tall flowers for the altar arrangements because the height of ceiling and the giant stone wall will dwarf the flowers.  While I am not a big fan of some of the typically tall flowers (and didn't want to pay $50 per arrangement), I didn't quite believe her.  I told her that I would check it out and get back to her.  

If you remember, or if not, this is our church:
See the altar up there, hiding behind the piano?

Well, she was right.  Adam and I took the flowers and the unity candle set up to the church last night and they looked sooooo tiny!  Adam and I agreed that it looked much better to be flower-less than to have dinky looking flowers up there at the altar.  So there's a few extra flowers that we don't have to order!


Practice Assembling the Floral Centerpieces
As I've said before, we are having two types of centerpieces:  a 7-piece candle set and then the H-Bowls with flowers.  I'm still hard at work on the candles, but will share them soon!  

The floral centerpieces are going to have the same flowers as my bouquet, a combination of roses, carnations and hydrangea.  Thus, what a perfect opportunity we have to practice these as well!

Based on the shape of the bowl, I figured I might have a hard time arranging the flowers.  The flowers were going to need to be short enough to fit in the bowl, but they might be top-heavy because there would be barely any stem to balance the weight out.  Here's a refresher picture:

I recalled seeing this picture from Martha Stewart/Pinterest awhile back that I thought might help me out:

While I knew that I didn't want to use tape on the bowls (because I wanted the flowers to sit deeper in the glass), it did give me an idea:  chicken wire!

I bought a roll of wire at the hardware store for about $6 and made two templates to try.  I just "traced" my pyrex lids.  The blue one is 6" in diameter and the red one is about 7.5" in diameter.   The red one sat pretty high up on the bowl, so I chose the smaller, blue template.


Gloves are highly recommended!  After cutting two of these, my hands were sore.  After I finished the other 8 (with gloves), I found this pretty little thing:

And then we start arranging!  The wire grating moves around a bit at first, so I started by doing the outside edge and then working my way in.  The stems ended up being only 2-3 inches tall to fit in the bowls (and most certainly top-heavy).   I ended up using a total of 16 flowers:  9 roses and 7 carnations.  Since I will be using hydrangea also, my numbers will end up being different, but at least this way I know the maximum number of flowers that I am going to need!

And the finished product:

I did add some flower petals to the mirror.  Like I've said before, I don't know if I'll dye them blue or punch out paper hearts and spread them around.  Needless to say, I will have to do something, otherwise my guests will be seeing this:
(See the evidence of my wire "helper" in the reflection?)

If you are considering this option, the hardware store also sold green, plastic-coated wire exactly like this.  It was going to be $4 dollars more, and I was being cheap, so I didn't buy it.  I think I would recommend it now, but it's too late for me!

Once I figured out the procedure, arranging the flowers went pretty smoothly.  I think I'll be able to do all 8-10 fairly quickly on the Friday before the wedding (like an hour...we'll time it!).  Adam did give me the official seal of approval on the centerpieces, so we are all set on that!  Hooray progress.

I did take pictures of the bowls as I was arranging them, if you want to see the step-by-step process, it is embedded below in a PowerPoint.

So that is the sum of my $25 floral investment.  I managed to get 3 things checked off my to-do list and there's now a little more room in this head of mine for more wedding stuff!

Did you practice with flowers before your wedding or did you just wing it?  Or...did you have a florist take care of everything like a normal person would?!?!

Monday, February 4, 2013

Something Borrowed: The Centerpieces

These are what I call the "H Bowls."  They have a full name, named after dear Bridesmaid H because they were originally purchased in 2008 for her wedding (really? almost 5 years ago? sheesh).  I could call them by their shape (short, giant martini glasses), but that's not nearly as fun as writing down "H Bowls" everywhere on my to-do and supply lists.


Needless to say, our friend circle has definitely gotten their money out of these babies.  These guys have been featured in H's wedding, the next year they were in L's wedding, the next year in L#2's wedding, before finally taking a year off.  This past summer, they were used at J's rehearsal dinner and will be making a fifth appearance at our wedding this June.  What is great about these bowls is not only that they are free glassware for the wedding, but they've become a tradition amongst our friends.  It's been neat to see how everyone has used them throughout the years and how we can tweak them to make them work for our own wedding.  

Here is a quick montage of how the wedding bowls have been used in the past:


Photos stolen from Facebook.  Thanks guys!
The first picture is from H's wedding, the second is from L's wedding and the third is from L#2's.  Sorry for the bad quality on the last one, I had to crop all most of our beer cups out of the picture!

So, as you can see, flowers and floating candles have been quite the theme with these bowls, and our wedding will really be no different.  The mirrors actually made their way home to Tennessee where H's in-laws live so I went ahead and bought some from Home Depot for $30 ($10 for 6 mirror tiles, in the bathroom section) and plan to use them like in the first two pictures.  

Here is my vision for the H Bowls:
They will be filled with our wedding flowers (white roses, carnations and hydrangeas) and have nice, new candles.  I have a heart shaped punch, so I am thinking of punching out hearts in paper that matches our colors and spread them out instead of flower petals (or dyeing the flower petals)...clearly I'm not quite sure yet!

We are actually going to have two types of centerpieces:  the H Bowls and then there will also be candle sets for the other half of the centerpieces...post coming soon (if I ever get the project completed)!  I will use the mirror tiles for those too and either flower petals or paper hearts around the main part.  

So, yes!  That is the great legend of the H Bowls.  So far, everyone is still married, so I'm going to say they are good luck charms too!  :)

Do you have any sorts of traditions among your friends that you will be including in your wedding?